
Regular inspections are crucial for maintaining your RV's structural integrity while on the road. Visual examinations, noise checks, and scent analysis can help identify potential issues like dents, scratches, rust, or structural damage. Prompt inspection and maintenance prevent small problems from becoming costly repairs. RV body repair requires specialized tools, techniques, and equipment similar to auto frame repair but tailored for larger vehicles. DIY repairs are risky due to specialized tasks and materials; professional expertise is recommended to avoid subpar results and future issues.
Uncover the secrets to mastering RV body repair with our comprehensive guide. From identifying hidden damage to common mistakes to avoid, we’ve compiled seven essential tips for RV owners. Learn the tools and techniques needed to effectively restore your recreational vehicle, ensuring a smooth and efficient process. Discover how to spot repair requirements, prevent future issues, and maintain the integrity of your RV’s body. Get ready to tackle repairs with confidence and expertise.
- Uncovering Hidden Damage: How to Spot RV Body Repair Needs
- Tools and Techniques for Effective RV Body Repairs
- Common Mistakes to Avoid During Your RV Body Repair Journey
Uncovering Hidden Damage: How to Spot RV Body Repair Needs
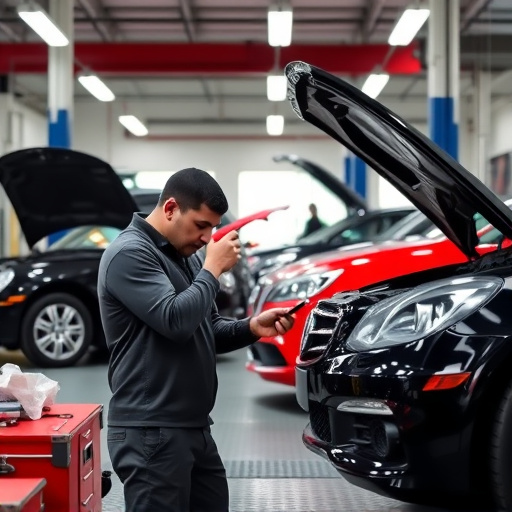
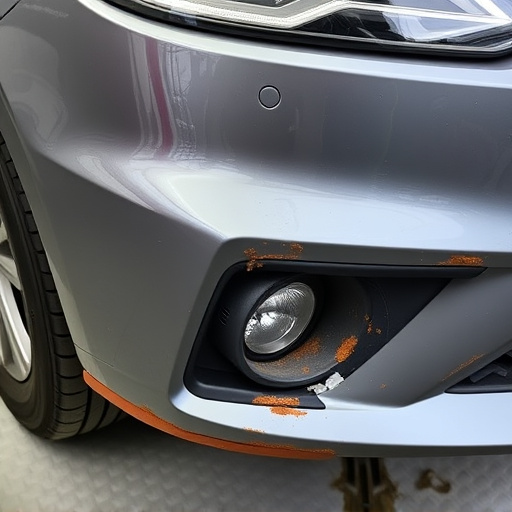
Hidden damage on your RV can often go unnoticed until it becomes a bigger issue. Regularly inspecting your vehicle is crucial for maintaining its structural integrity and overall condition, especially when you’re on the road. Here’s how to spot potential RV body repair needs:
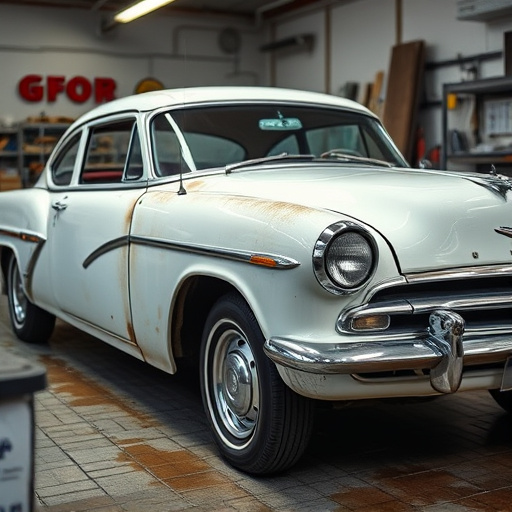
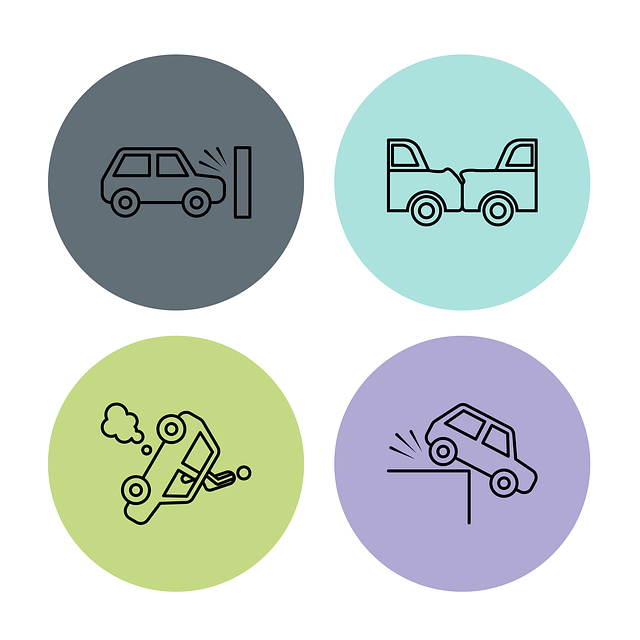
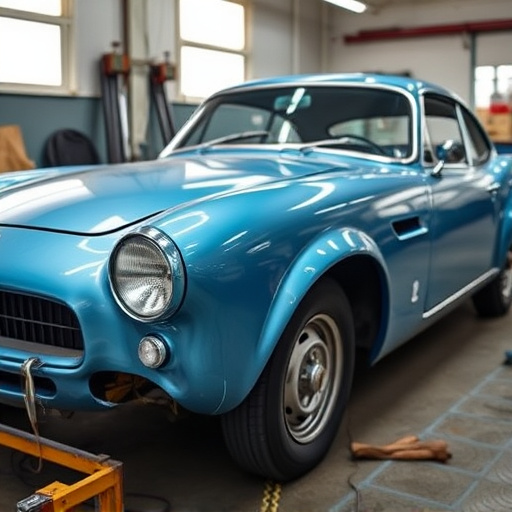
Start with a visual examination, checking for any signs of dents, scratches, or rust. These can often be visible from the outside, but be sure to look closely at hard-to-reach areas as well. Pay attention to panel gaps; if they’re uneven or misaligned, it could indicate that panels have been damaged and need replacement. Look for cracks in the paint, which might hint at underlying damage. If you notice any strange noises while driving, like rattling or creaking, these could be signs of structural issues requiring RV body repair. Don’t overlook odd smells; rust or other contaminants can cause musty odors that may require professional attention. Regular maintenance and prompt inspection can prevent small issues from turning into costly repairs down the line, keeping your RV in top shape for all your adventures.
Tools and Techniques for Effective RV Body Repairs

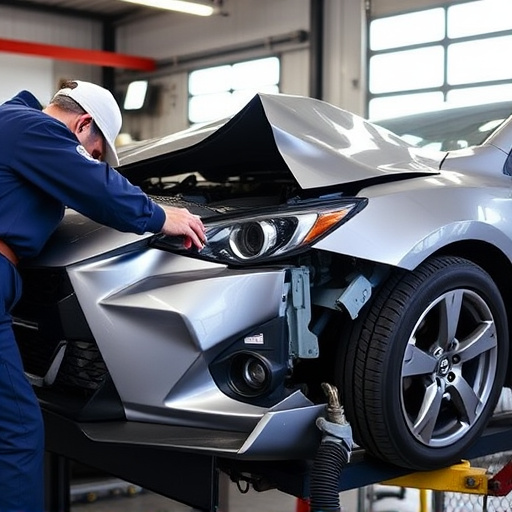
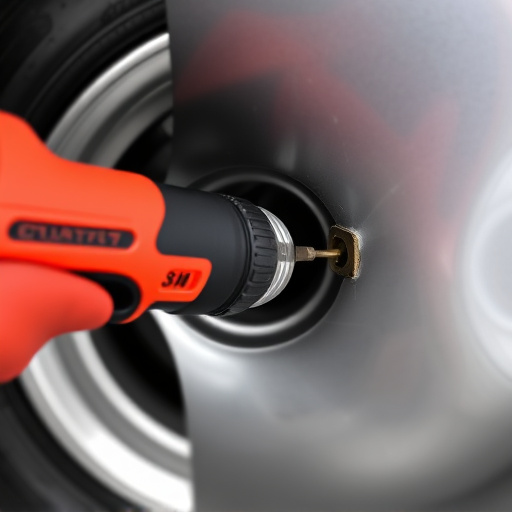
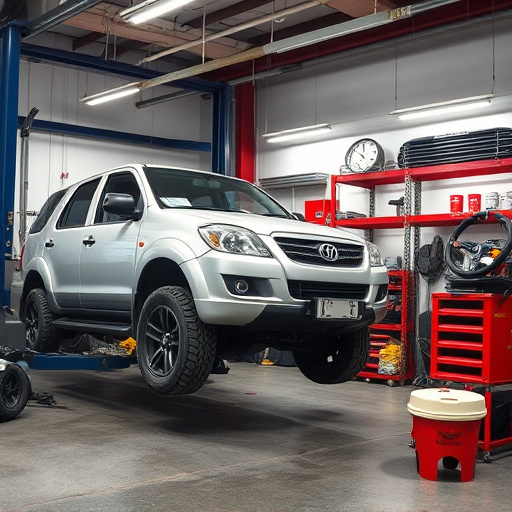
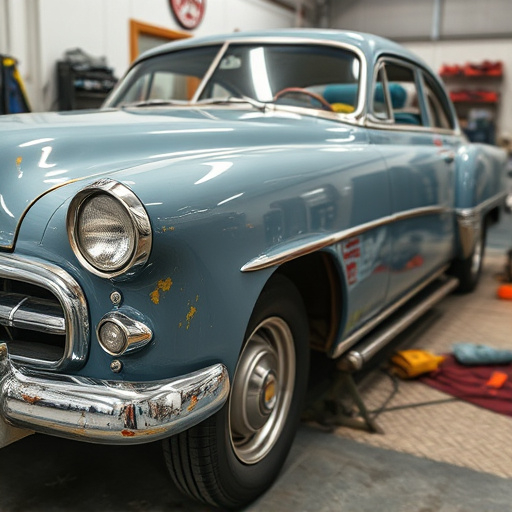
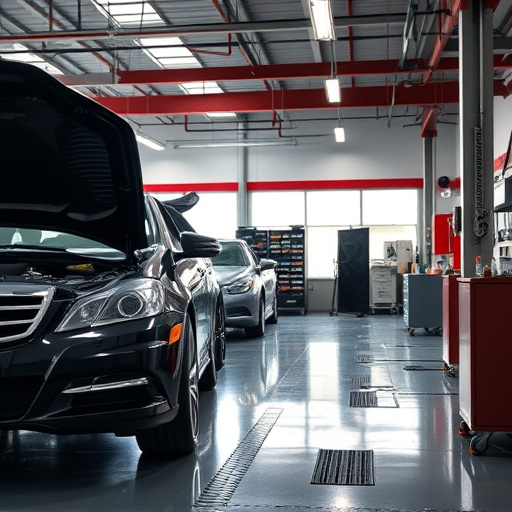
When it comes to RV body repair, the process shares many similarities with auto frame repair and car body repair, but there are unique considerations due to the vehicle’s size and specialized components. Effective repairs necessitate a specific set of tools and techniques tailored for RVs. For instance, specialized equipment like hydrolic lifts designed for larger vehicles are crucial for safely lifting and supporting the RV’s structure during repairs.
Additionally, experienced technicians utilize advanced tools such as precision measuring devices and specialized welding equipment to ensure precise alignments and structural integrity after a collision or damage. These techniques, combined with high-quality materials, help restore the RV to its pre-incident condition, ensuring safety and longevity on the road.
Common Mistakes to Avoid During Your RV Body Repair Journey
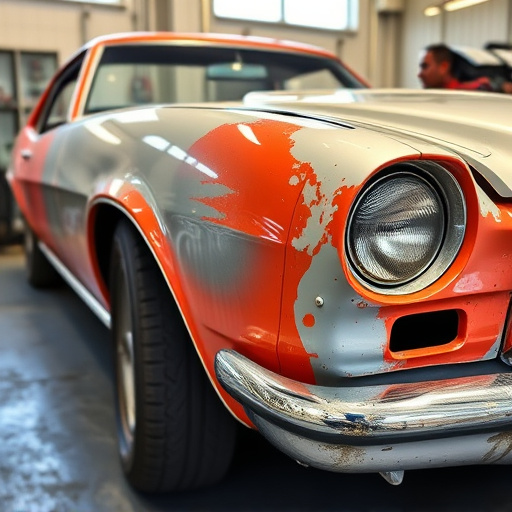
Many RV owners try to tackle their own body repairs, but there are several common mistakes that can plague even the most well-intentioned DIY enthusiasts. One of the biggest is trying to repair damage that requires specialized equipment or skills, such as complex metal fabrication or paint mixing. This not only risks compromising the repair but could also lead to further, more severe damage. Another frequent error is skimping on materials, which can result in repairs that are less durable and more susceptible to future issues.
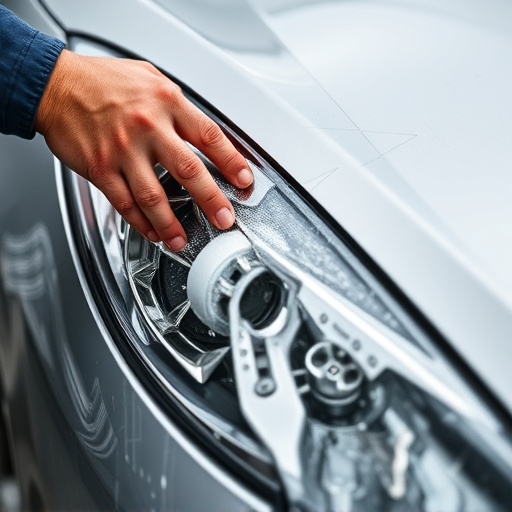
Additionally, neglecting proper preparation steps before beginning any repair can cause long-lasting problems. This includes failing to thoroughly clean and degrease the affected area, ensuring adequate drying time for primers and paints, or not sanding down rough edges properly. These oversights can lead to poor adhesion, visible repairs, and an uneven finish, similar to how car scratch repair or auto bodywork often goes wrong when done without proper expertise and preparation in auto collision repair.
Whether you’re a seasoned RV owner or just starting your adventure, understanding the ins and outs of RV body repair is essential for maintaining your vehicle’s integrity. By mastering the art of identifying hidden damage, utilizing suitable tools and techniques, and steering clear of common mistakes, you can ensure your RV remains in top condition for years to come. Remember, prompt action on minor repairs prevents major issues down the road. So, equip yourself with these secrets, roll up your sleeves, and take control of your RV’s body repair needs.