
Before repairing an RV, conduct a thorough inspection, gather specialized tools and high-quality materials, and prepare a suitable workspace. Identify damage, choose compatible replacement parts from reputable sources, and invest in advanced tools for precise repairs. Follow industry standards, clean, prime, replace, bond, and paint with professional techniques for optimal RV body repair, enhancing aesthetics and value.
The world of RV body repair opens up a universe of possibilities for restoration, customization, and enhanced travel experiences. This comprehensive guide delves into the essential steps for achieving success in RV body repair. From understanding the intricacies of RV construction to selecting the right materials and tools, we’ll equip you with knowledge. We’ll walk through a step-by-step process, ensuring optimal results while adhering to best practices. By mastering these techniques, you’ll embark on a journey to transform and maintain your recreational vehicle like a true expert, making every trip unforgettable.
- Understanding RV Body Repair: Essential Pre-Reparation Checks and Preparation
- Choosing the Right Materials and Tools for Optimal Results
- Best Practices for Effective RV Body Repair: A Step-by-Step Guide to Success
Understanding RV Body Repair: Essential Pre-Reparation Checks and Preparation
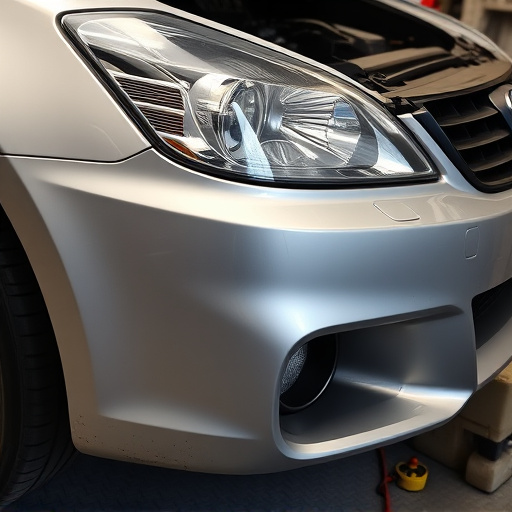
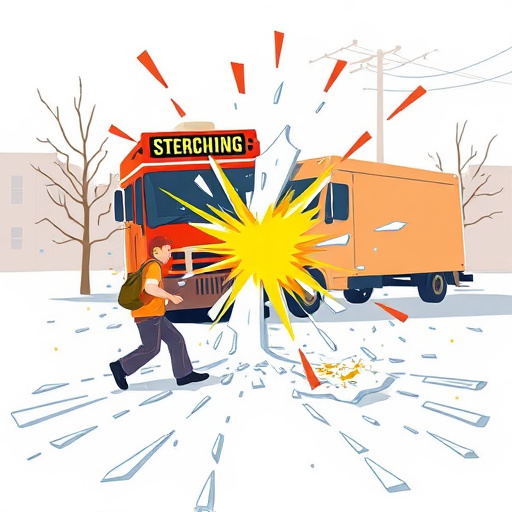
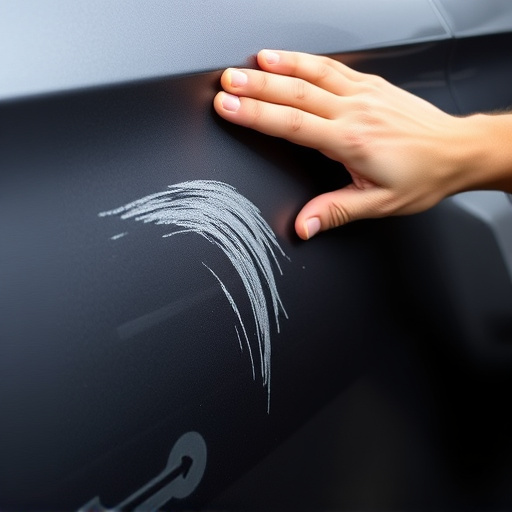
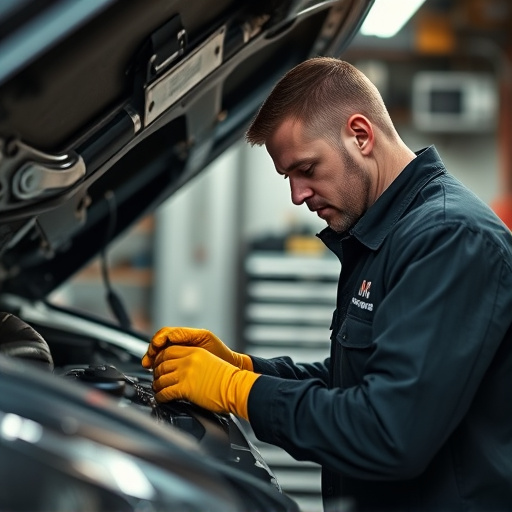
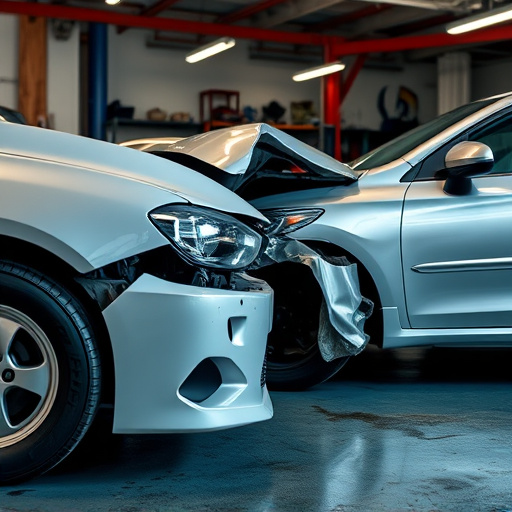
Before diving into RV body repair, it’s crucial to perform a thorough inspection and preparation. This involves assessing the extent of damage, making necessary tools and materials ready, and ensuring safety measures are in place. Start by identifying all the damaged areas—bumps, scratches, dents, or larger cracks—and document them for reference later. Next, gather essential tools like impact wrenches, sanders, and paint supplies tailored for RVs, as standard car body shop equipment might not suffice.
Additionally, consider factors unique to RV repairs, such as the vehicle’s size and specialized components. Prepare a workspace that accommodates the RV’s dimensions, clear of obstructions, and with adequate lighting. Ensure proper ventilation, especially when handling chemicals like paints and primers, which can be potent indoors. With these pre-repair checks completed, you’ll be well on your way to successfully repairing and restoring your RV to its original condition, or even better, at a reliable collision repair center.
Choosing the Right Materials and Tools for Optimal Results
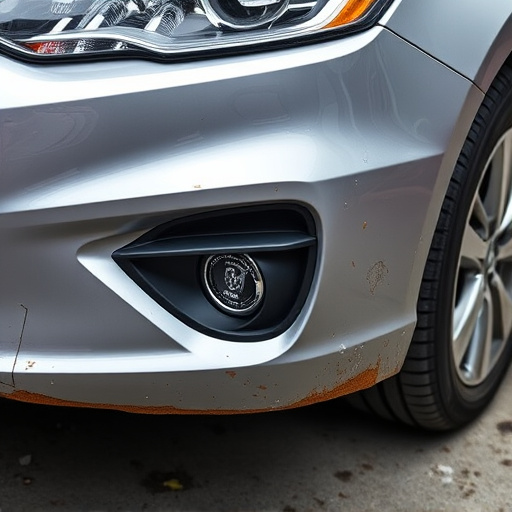
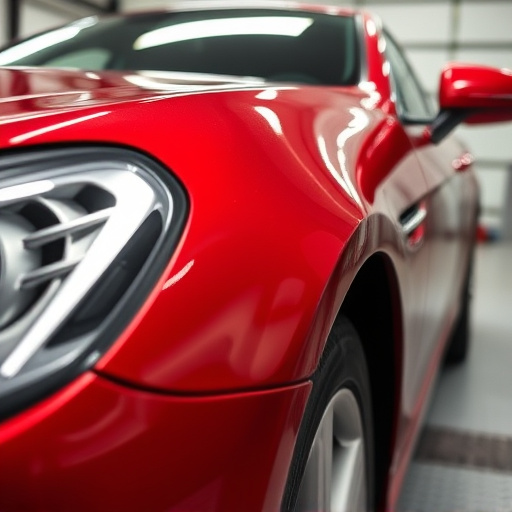
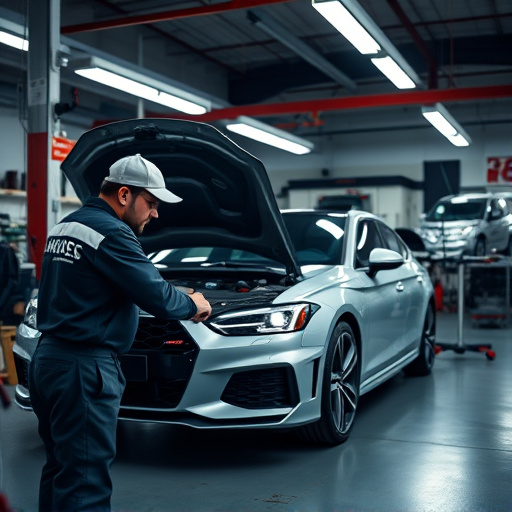
When it comes to RV body repair, selecting the right materials and tools is paramount for achieving optimal results. This involves choosing high-quality replacement parts that perfectly match your RV’s original specifications. It’s crucial to consult with a reputable collision repair center or auto body restoration specialist who can guide you in sourcing genuine or certified-pre-owned parts. These experts understand the nuances of RV construction and can ensure compatibility, longevity, and a seamless fit.
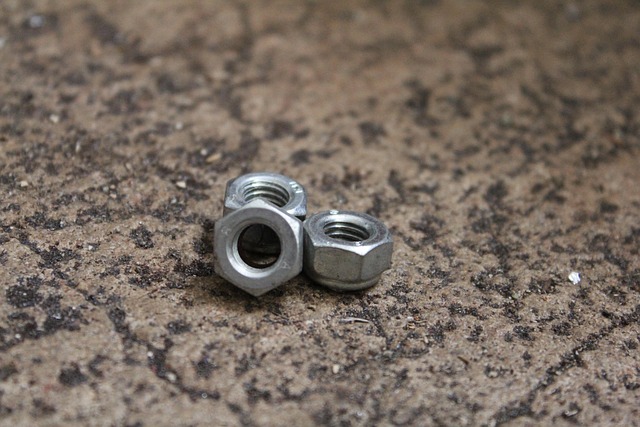
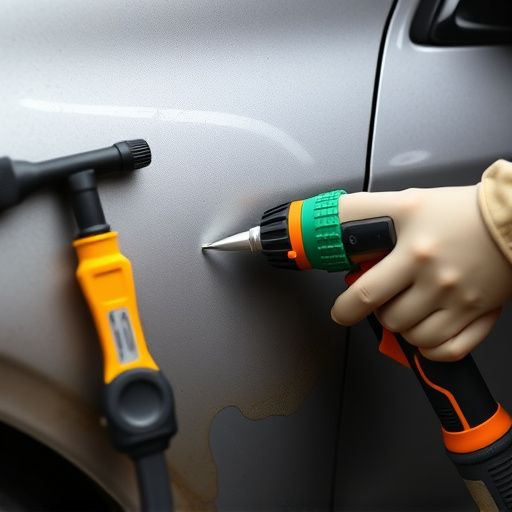
Moreover, investing in top-tier tools is essential for precise and efficient RV body repair. From specialized hammers and dolly sets to advanced paint repair kits, the right tools make all the difference. Vehicle paint repair, for instance, requires precision and skill, so consider using professional-grade paint guns, sanders, and masking tape. This ensures a smooth, even finish that enhances your RV’s aesthetics and value—a key aspect of successful RV body repair.
Best Practices for Effective RV Body Repair: A Step-by-Step Guide to Success
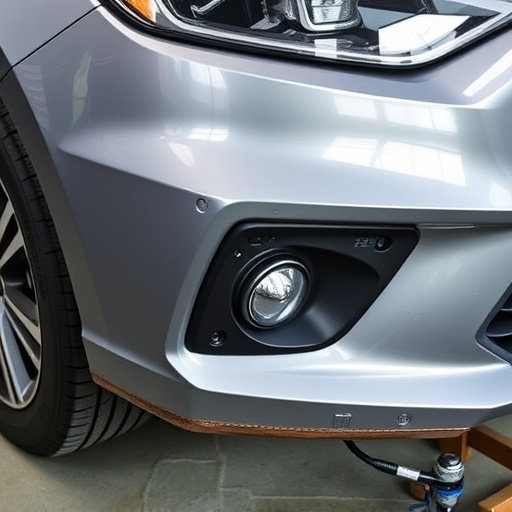
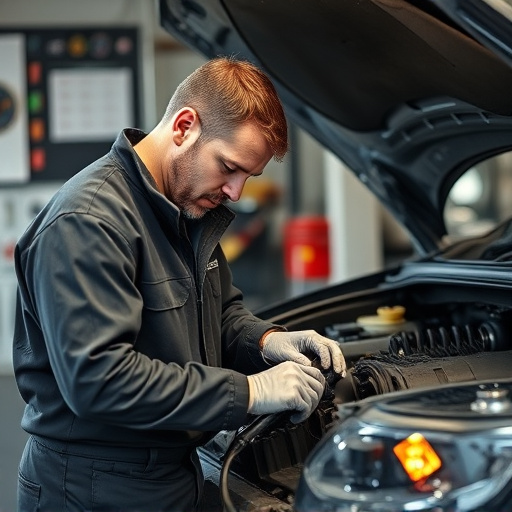
When it comes to RV body repair, a meticulous and structured approach is key to achieving top-notch results that match the vehicle’s original quality. The first step involves a thorough inspection of the damaged area, identifying not just visible dents or cracks but also underlying structural issues within the RV’s frame and panels. Utilizing advanced diagnostic tools can aid in this process, ensuring no hidden damage goes unnoticed. Once identified, prepare the repair site by removing loose debris, cleaning, and applying primer to ensure proper adhesion during the fixing process.
A step-by-step guide for success includes the following: carefully cut out damaged parts if necessary, using precision tools; fit replacement pieces precisely, maintaining the original contours of the RV’s body; apply appropriate bonding agents or adhesives according to manufacturer recommendations; and finally, conduct a thorough paint job that blends seamlessly with the surrounding panels. Regularly refer to industry standards for best practices in auto frame repair throughout these stages. Additionally, seeking professional training in vehicle body repair can provide invaluable insights into advanced techniques and safety protocols.
In conclusion, mastering RV body repair requires a systematic approach. By thoroughly understanding pre-repair checks, selecting the right materials and tools, and adhering to best practices, you can achieve successful repairs that extend the lifespan of these vehicles. Focusing on precision, quality, and safety throughout the process ensures your RV remains in top condition for many adventures to come.