

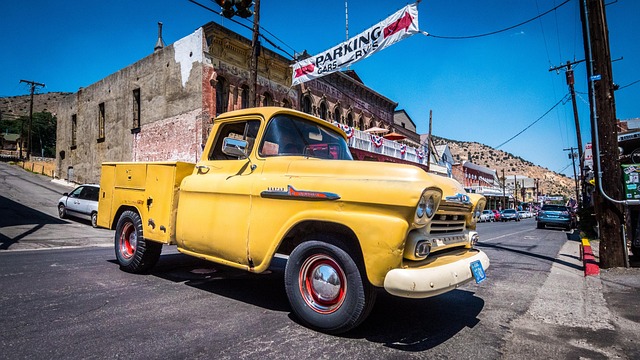
Recreational vehicles (RVs) require repair for damage from accidents, weather, and wear. Common issues include dents, scratches, and structural damage. A systematic approach is crucial for RV body repair, using proper tools and high-quality materials. Assess damage, practice on scrap pieces, and have patience for precision and safety.
Are you new to RV ownership and dreading the thought of repairs? This comprehensive beginner’s guide is your starting point for mastering RV body repair. We’ll walk you through understanding common damage causes, gathering essential tools, and mastering basic repair techniques. From identifying dented panels to fixing cracked windows, gain confidence in tackling minor RV body repairs yourself.
- Understanding RV Body Damage: Common Issues and Causes
- Essential Tools and Materials for Repair
- Step-by-Step Guide to Basic RV Body Repairs
Understanding RV Body Damage: Common Issues and Causes
Understanding RV Body Damage: Common Issues and Causes
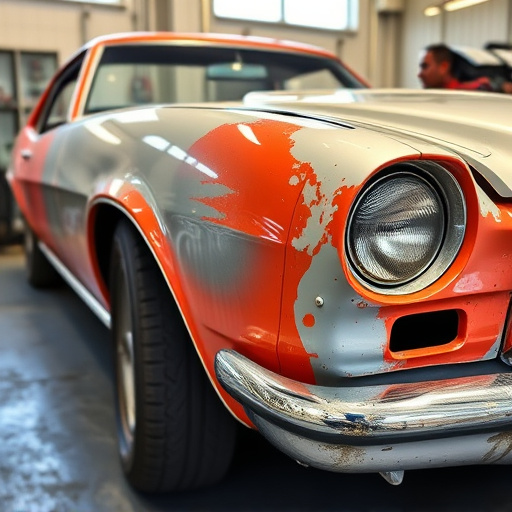
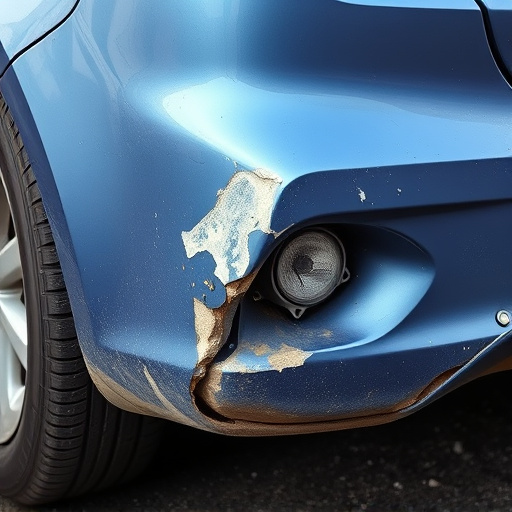
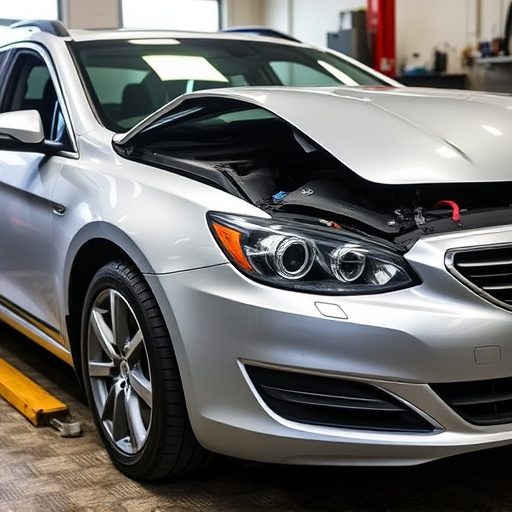
Recreational vehicles (RVs) are designed to withstand various outdoor conditions and frequent use, but they’re not immune to damage. Like any vehicle, RVs can experience a range of body issues due to accidents, weather events, or wear and tear over time. Common problems include dents, scratches, cracks in the paint, and even more significant structural damage from collisions. Recognizing these potential issues is the first step towards effective RV body repair.
Accidents are a leading cause of RV body damage, whether it’s a minor fender bender or a severe collision. Wind and weather can also play a role, causing dents, scratches, and even peeling paint. As RVs age, routine exposure to road debris, pot holes, and other hazards increases the risk of damage. Fortunately, many repair options are available, ranging from simple dent repairs and paintless dent repair services to more complex collision repair procedures, ensuring your RV looks as good as new again.
Essential Tools and Materials for Repair
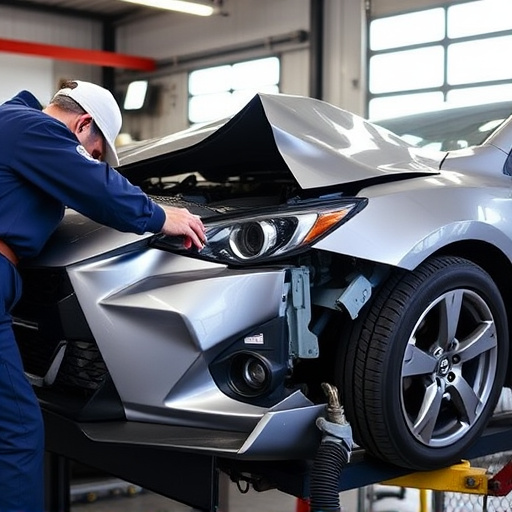
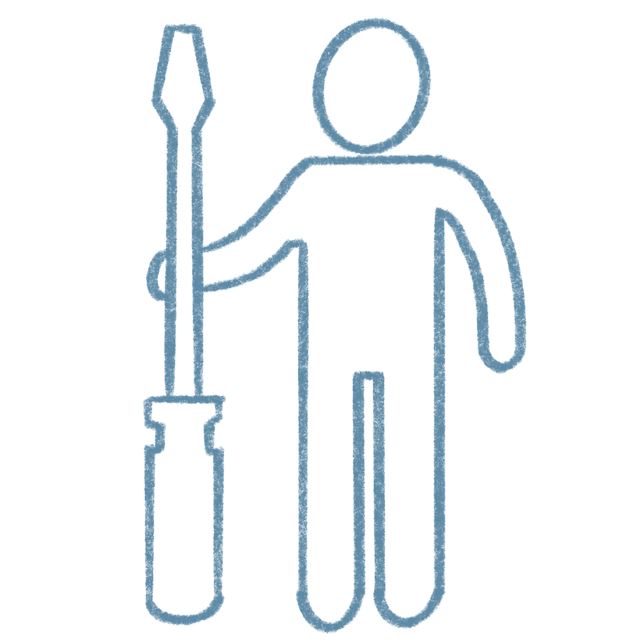
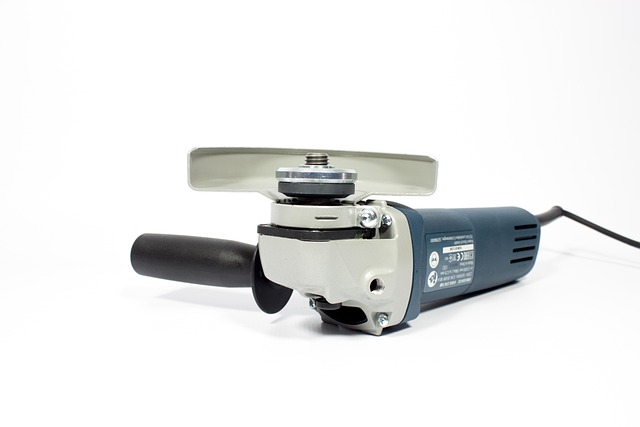
Before tackling any RV body repair, ensure your toolkit is stocked with essential tools and materials. For minor dents and dings, a set of impact wrenches and a mallet are must-haves. These powerful tools can swiftly remove dents without leaving unsightly marks or damaging the underlying structure. Additionally, carry a variety of screwdrivers, both flathead and Phillips, to handle various fastening needs.
For more intricate jobs like frame straightening or hail damage repair, consider investing in specialized equipment such as an air compressor for removing dents and a frame ramp system for aligning the vehicle’s chassis. High-quality body putty, primer, and paint are also crucial for achieving a seamless finish similar to professional car body repair.
Step-by-Step Guide to Basic RV Body Repairs
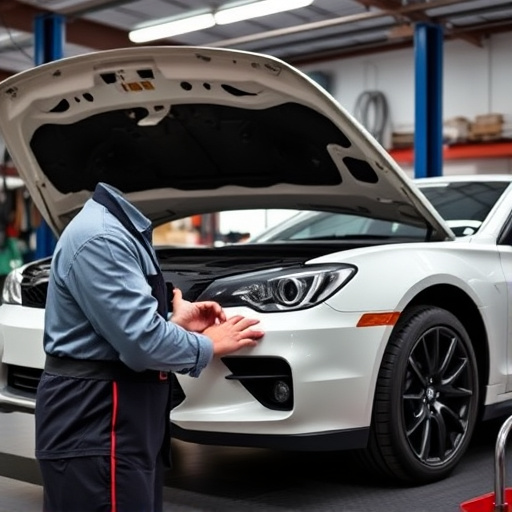
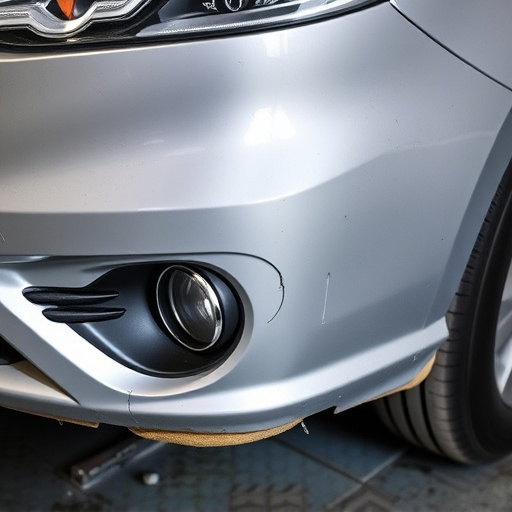
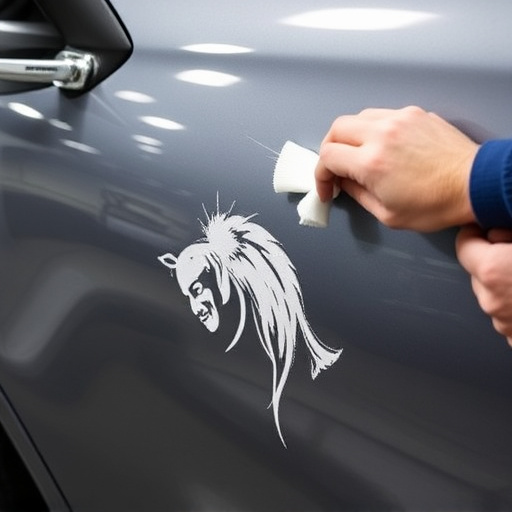
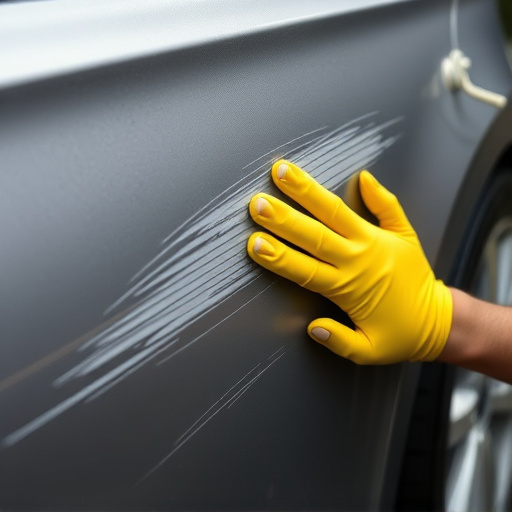
For a complete beginner looking to tackle RV body repairs, a step-by-step approach is key. Start by assessing the damage—is it a small dent or a more significant crack? Minor dents can often be fixed with a dent puller and some filler, similar to auto body work techniques. This involves inserting a tool behind the dent to pop it out, then filling any gaps with plastic or metal repair compounds.
For more substantial RV body repairs, such as after a car collision repair, you may need to use specialized equipment like sanders and grinders to smooth out uneven surfaces before applying primer and paint. Practice on scrap pieces first to get a feel for the process and the tools required—this will ensure a neater finish and a safer environment when working on your RV. Remember, patience is crucial in auto body repairs, whether on a car or an RV.
Whether you’re a seasoned RV owner or just starting, learning the basics of RV body repair is an invaluable skill. By understanding common damage causes and mastering essential tools, you’ll be equipped to handle minor repairs promptly, saving time and money. With this beginner’s guide, you now have the knowledge to navigate through basic RV body repairs, ensuring your vehicle remains in top shape for all your adventures ahead.